Introduction
Discover a tried-and-true web design process (developed over many years) that will greatly benefit you and the customer. This article will help you to maintain the schedule, stay on budget – and be highly efficient!
The purpose of this article is to explain our in-house 10 Step Web Design Process.
Per step, we also have provided a supporting YouTube video for an even better understanding of the subject matter.
Table of Contents
- Step 1: Gather Requirements
- Step 2: Proposal
- Step 3: Navigation Summary
- Step 4: Wireframe
- Step 5: Content Collection
- Step 6: Mockup Design
- Step 7: Development
- Step 8: Testing
- Step 9: Prototype
- Step 10: Launch
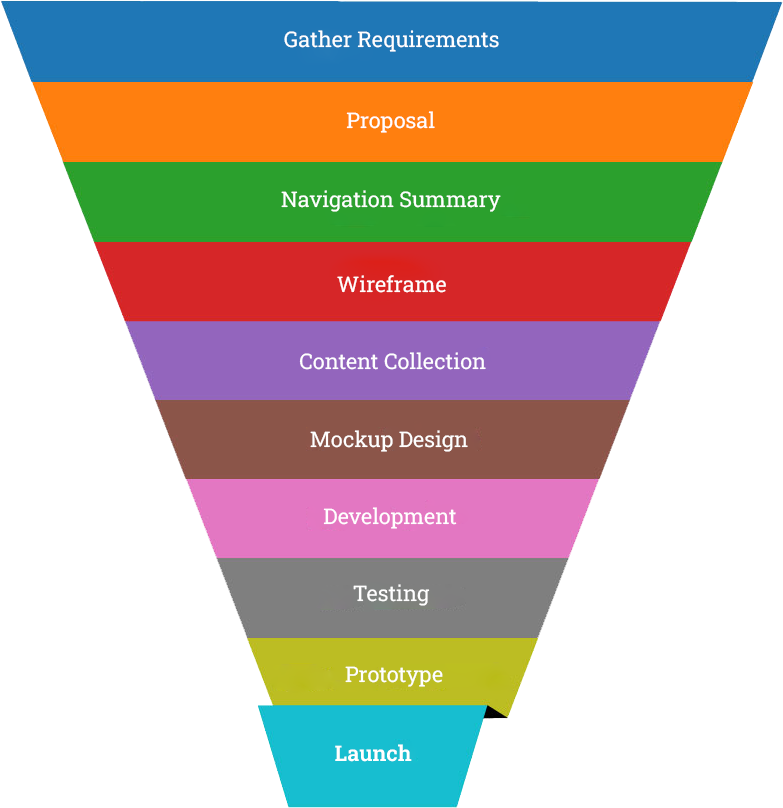
The Funnel. We like to think of our process much like a funnel. At the top, information is swirling and much of it is undefined. As we progress down the funnel, i.e. our “the steps of our process,” information and output become more clear, concise and ultimately becomes a turnkey website.
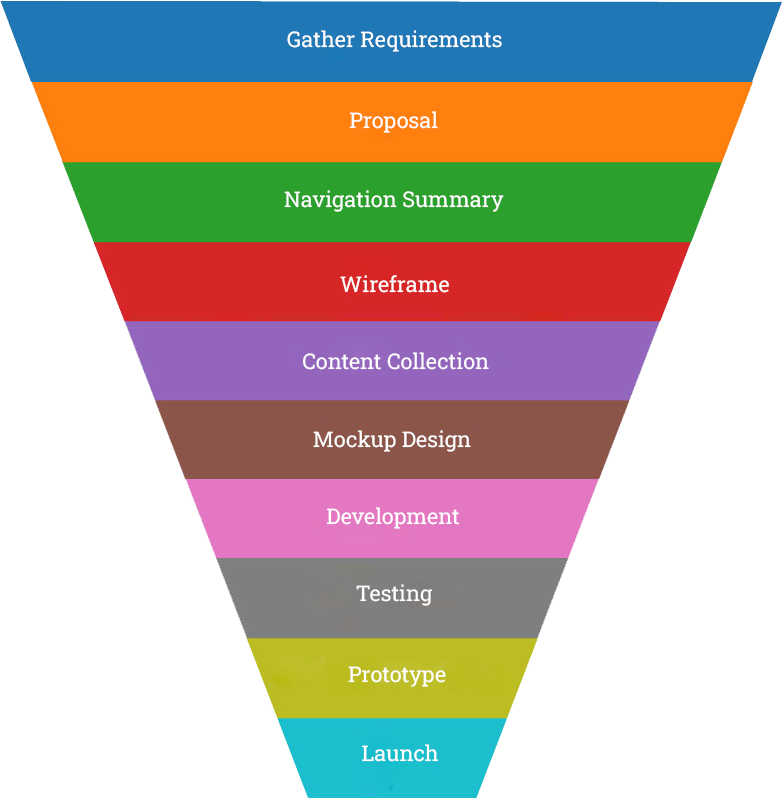
Developers need to follow documentation when they build. Ever heard of the biblical Tower of Babel? This is what happens when the size, scope and expectations are not defined- or followed. We have a saying in the IT field: “for every one hour of proper planning, you will save six hours in development time.” This is very true and is a major factor in the profitability (or not) of a development shop.
Now that we have the philosophical stuff out the way, let’s have some fun!
Step 1: Gather Requirements
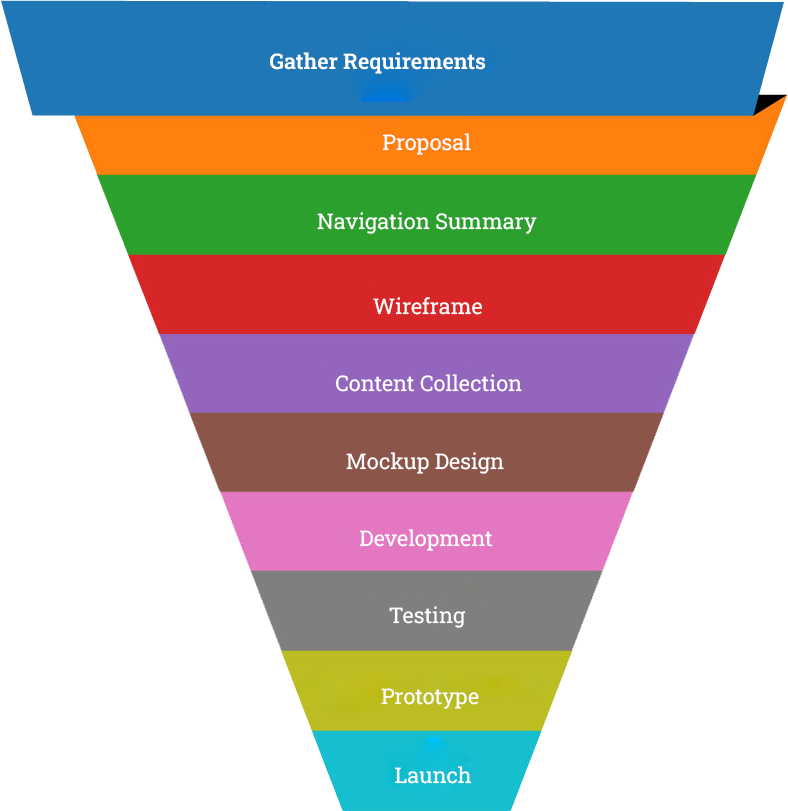
Gathering requirements is the foundation of any successful web design project, particularly for clients with limited business experience. By clearly understanding expectations, scope, and the necessary resources, both the customer and the developer can align for a smoother workflow and greater success. It’s important that every business transaction leads to a “win-win” outcome for all parties involved.
You’ve likely heard the saying, “Fail to plan, plan to fail.” This applies perfectly to web design. Just like firefighters don’t rush into a burning building without a strategy, the same logic applies to web projects. Proper planning ensures the project stays on track, saves time, and prevents costly mistakes down the road.
Defining the Scope and Budget
One of the most important tasks is identifying the scope of the project and confirming that the client has the budget to support it. These two factors go hand-in-hand and must be addressed early on to avoid potential issues later.
Technical Requirements
During this phase, all technical aspects of the project should be outlined. This includes items such as the domain name, website hosting, content management system (CMS), and email services. Break these down into line items with clear pricing. If the client isn’t tech-savvy, offer to handle these tasks on their behalf, using their company payment method.
Providing a Ballpark Estimate
At this point, you should have a rough estimate of the project cost, typically within ±10% of the final fee. Share this figure with the client to gauge their reaction. If the client wants to lower the price, consider scaling down the scope or removing certain features, but never compromise on your basic fees. Remember to account for design, copywriting, project management, and other essential services in your pricing.
Following a website design is critical in ensuring satisfaction and profitability. It also makes work more efficient, helps in communication and almost guarantees a happy customer at the end!

Beware of Profit-Sharing Offers
You may encounter clients with offers like, “We have an amazing product/service and want a partner to build it. Once we start making money, you’ll get paid big time!” In reality, this is a request for free labor, with promises of future profit that rarely materialize.
Such arrangements typically start with excitement but soon lead to frustration. You’ll begin focusing on other paying clients, while the unpaid project stalls, leaving your “partners” unhappy. This scenario almost always ends badly.
How to Respond to Unpaid Offers
When faced with such offers, respond politely but firmly: “Thank you for your offer, but this is your dream project, not mine. My dream is running my business and working for clients like you. Unfortunately, I don’t have the resources to act as a bank. We only accept payment in U.S. currency.” This sets clear boundaries and ensures you don’t waste time on unprofitable ventures.
Step 2: Proposal
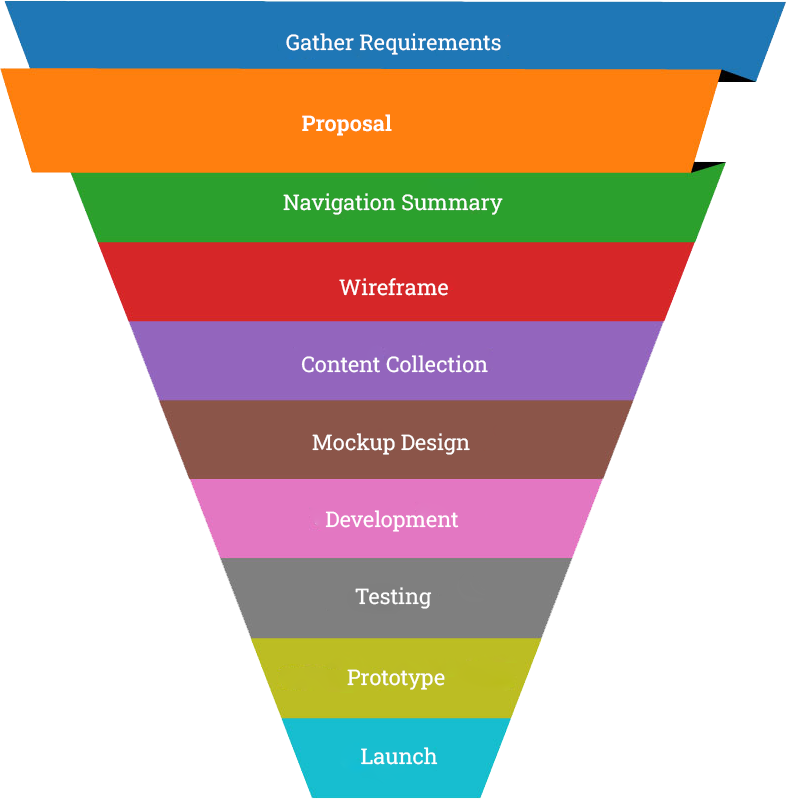 When formalizing a project, it’s essential to have a written document that outlines the details. Whether you call it a contract, estimate, or proposal, the purpose is to ensure both the developer and the customer are on the same page about what is being delivered, along with clear expectations, timelines, and pricing. A well-written web design proposal also helps control the scope of the project, preventing misunderstandings about what is being requested and what is actually being done.
Key Sections of a Proposal
At a minimum, your proposal should include the following sections:
- Introduction: A brief overview of the project.
- Expectations: Outline both client and developer expectations.
- Navigation Summary and Functionality: A clear description of the website’s navigation and features.
- Development Process: A step-by-step overview of how the project will be executed, with a timeline.
- Fee: A breakdown of the total cost, including any potential overrun costs.
It’s helpful to use a predefined template that can be quickly customized for each client.
Tip: Be aware of potential project cost overruns and account for them in your proposal.
When creating your Proposal, make sure to add an Expectations section which covers such basics as response times, working hours, assumptions, etc… This is very important!

Collaboratively Review the Proposal
Always remember that the proposal is an agreement between you and the customer, so it’s crucial to review it together. A quick phone call to go over the document from top to bottom is a great way to ensure the client understands everything. This doesn’t have to be a long call, and it’s helpful to have the client review the proposal before the call to address any immediate questions.
If you simply send the proposal via email without discussing it, many clients will skim straight to the price, missing the important details about how the project will work. By taking the time to review the proposal together, you can establish a strong first impression and set the tone for long-term success.
Client Signature
For smaller companies, an email confirmation or a digital “I accept these terms” is typically sufficient. Larger businesses may require formal signatures in line with their billing protocols. The goal here is to reduce unnecessary red tape so you can move forward efficiently and begin the work profitably.
Step 3: Navigation Summary
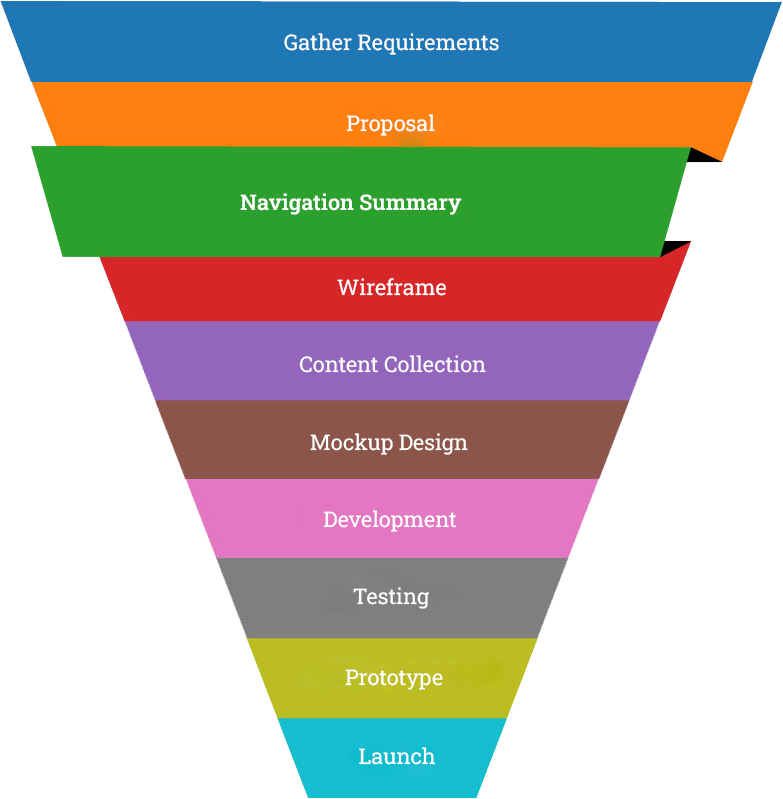
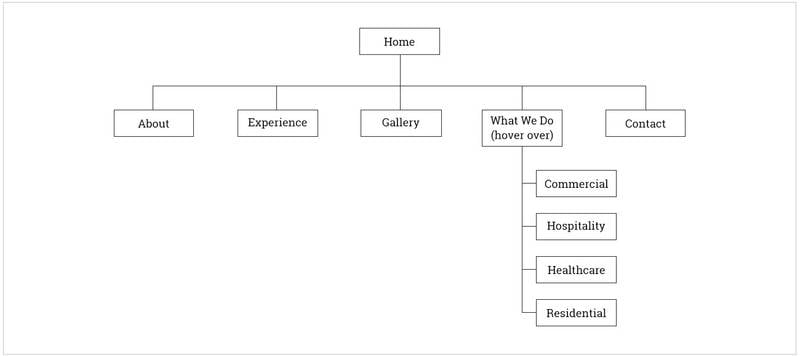
The Navigation Summary (sometimes referred to as a site tree, navigation tree, or site structure) is where you organize the main pages and subpages of the website. This step is crucial for ensuring a user-friendly structure and laying out how the navigation will function. For instance, you might include drop-down menus, flyouts, hover-over effects, mega menus, top or side navigation options, and more. This is your chance to visually explain how all these elements will work together.
A well-crafted navigation summary serves as a roadmap for the website, allowing users to navigate effortlessly between pages. An experienced developer should be able to organize even hundreds of pages so that users can find what they need within 1 to 4 clicks, keeping the main navigation simple and under 10 links.
Why Keep It Simple?
Step 3: Navigation Summary
The Navigation Summary Drives the Wireframe
Each page outlined in the navigation summary should correspond to a wireframe. It’s important to get the navigation summary approved before moving forward to the next phase of the design process.
Think of the Navigation Summary as a visual version of your site tree. It gives a better understanding of the project and also helps to “put a fence around it.” This fence is important in keeping the scope contained along with your profitability.
Need further clarity? Imagine looking at real estate listings online. Then select a property to look at. Now focus on the style (single family, townhome, condo, etc.) of the house along with square feet – and the number of bedrooms and bathrooms… Your navigation summary functions much in the same way!

Change Orders Begin Here
At this stage, change orders can start to appear and can be requested throughout the design process until the site launch. Since the pages are already outlined in the proposal, any additional requests—such as adding new pages or functionality—can significantly impact the project’s timeline and your profitability.
For example, a client might ask, “Can you add a photo gallery?” While it sounds simple, it could require an additional 25 hours to research the right technology, install it, gather images, and train the client. You should be compensated for this extra work.
How to Handle Change Orders
A change order is a document that reflects changes in the scope of work requested by the client. It should clearly outline:
- The new item or feature
- The cost of the addition
- The impact on the timeline
- The total fee for the new work
It’s essential that the client is billed for 100% of the change order before any additional work begins. This approach emphasizes the seriousness of scope changes and discourages frequent or unnecessary modifications during the project’s development.
Why Upfront Billing?
When a project is delayed due to additional requests, your payment is also delayed. Most developers bill 50% upfront and 50% upon completion, so any timeline extension means you won’t receive your final payment until later. By billing for change orders upfront, you maintain better control of your project’s timeline and profitability.
Additionally, change orders can modify or add to your legal agreement with the client. Once a change order is approved and paid for, it becomes part of the official project and should be treated as if it were in the original proposal.
Step 4: Wireframe
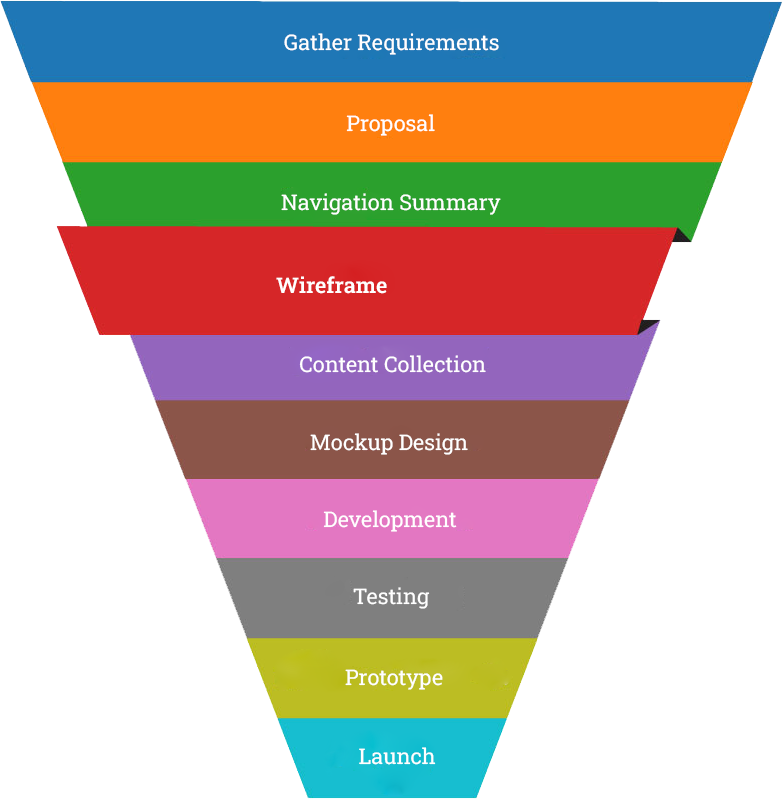 A wireframe is essentially a black-and-white blueprint that outlines every page of the website.
These not-to-scale layouts are crucial to building a successful website, and while some amateur developers skip this step in favor of jumping straight into mockup design, wireframes are far from a waste of time. In fact, they save time by aligning customer and developer expectations from the outset.
Just like you wouldn’t build a house without blueprints, you shouldn’t build a website without a wireframe. When clients are involved in the wireframe creation process, they gain a better understanding of the project and develop confidence in the developer’s professionalism and attention to detail.
Why Wireframes Matter
Special Note- We use Balsamiq as our wireframe building tool.
Wireframe Tools We Use:
The Role of Wireframes in Content Collection
The wireframe not only outlines the design but also drives all required content. It defines what content is needed and how it should be organized. For easier content management, we recommend using a red font to highlight all required content. Later, during the Content Collection step, we’ll create a Content Inventory spreadsheet directly based on the wireframe.
Wireframes are blueprints of the web application that is about to be built. Think architectural plans. Blueprints are done first before any aircraft, spaceship, building, bridge, ship, etc…is ever constructed. Don’t make the novice mistake of designing first… or you will end up in the abyss.

Don’t Combine Wireframes and Mockups
Some developers try to combine wireframes and mockups into a single task to save time. While the logic may seem sound—since both files are similar—this is a mistake.
Here’s why: Wireframes should influence the mockup design, not the other way around. If you combine the two, the client will likely shift their focus to design elements like colors, borders, and drop shadows—thinking they are already in the design phase.
This is the equivalent of building a house without a blueprint. It leads to confusion, missed expectations, and extra work. By keeping wireframes and mockups as separate, distinct stages, you ensure each step has a clear purpose, and the process moves smoothly from one phase to the next.
Conclusion
Be methodical in how you work, and always complete one task before moving to the next. A well-crafted wireframe sets the foundation for a successful website and helps you avoid costly mistakes later in the project.
Step 5: Content Collection
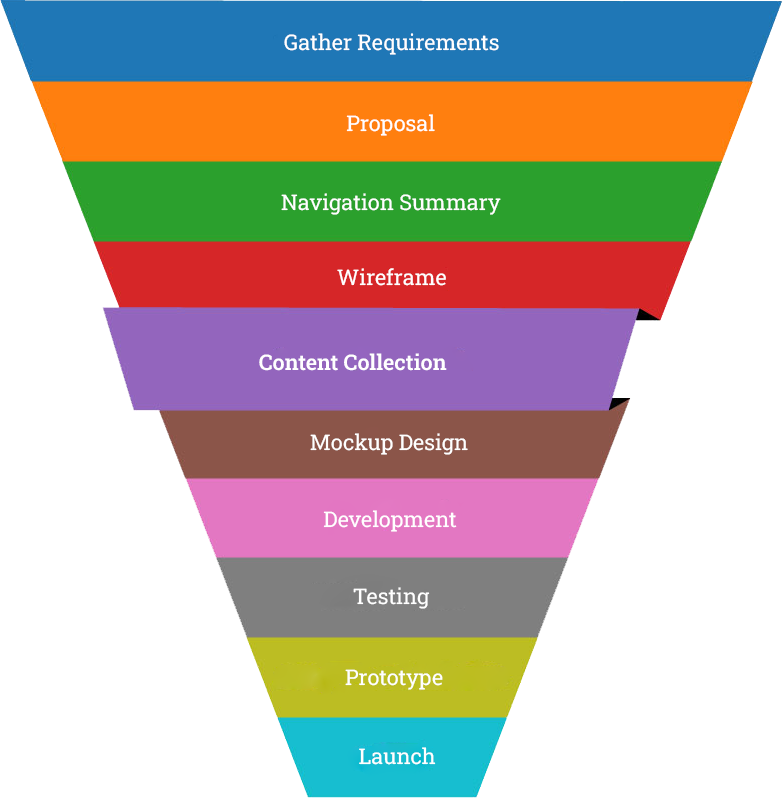 The Content Collection phase typically marks the midpoint of a project, but it’s also where over 60% of projects stall.
Why? Because content collection is heavily dependent on the client providing materials such as copy, images, testimonials, videos, and bios. One way to mitigate this delay is to explain this challenge upfront to the client, without overwhelming them, and ensure they are fully committed to delivering the necessary content on time.
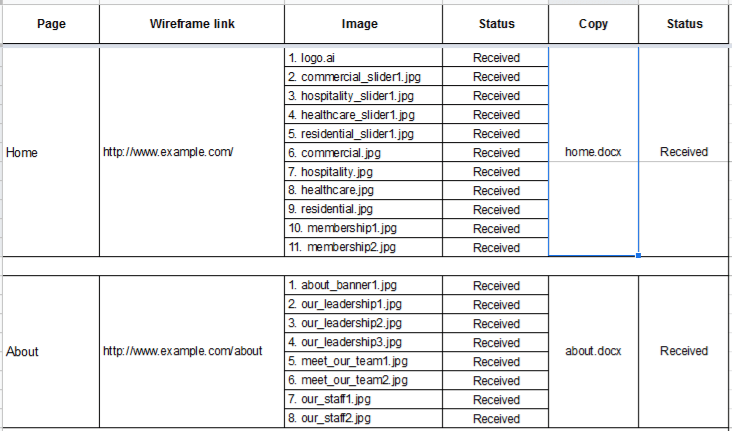
Content Inventory
Using the Wireframe to Guide Content Collection
Use your wireframe as a guide to create a Content Inventory spreadsheet. This tool will help both you and the client stay organized and ensure nothing is missed.
Important Warning
Do not proceed to the next step until 100% of the content has been received and inventoried.
Building a website without all the content is like building a house without the second-floor windows or roof shingles. A half-finished website left incomplete for an extended period will suffer, just like a house exposed to the elements.
Content collection is the most understood and mismanaged task in web design. Do NOT start any design unless you have 100% of the content. Why? Content influences design and is also a very client dependent task. Once you get past this step, the project tends to be a rapid buildout.

Coaching the Client
Guide your customer through the content collection process with a positive tone, encouraging them to stay motivated and on track. A delayed content submission almost always results in a delayed project.
In my experience, over 60% of website projects face delays due to the content collection step, which is primarily a client-side responsibility. The best way to avoid this is by explaining the importance of timely content delivery at the start of the project.
Pro Tip: Collect All Content at Once
Encourage your client to gather 100% of their content, properly label it, and send it to you all at once. Receiving content in bits and pieces can add a significant amount of uncompensated work, as it requires constant email exchanges, updating files, and communication.
Explain to the client that this approach will not only save your time but theirs as well, making the entire process smoother and more efficient.
Step 6: Mockup Design
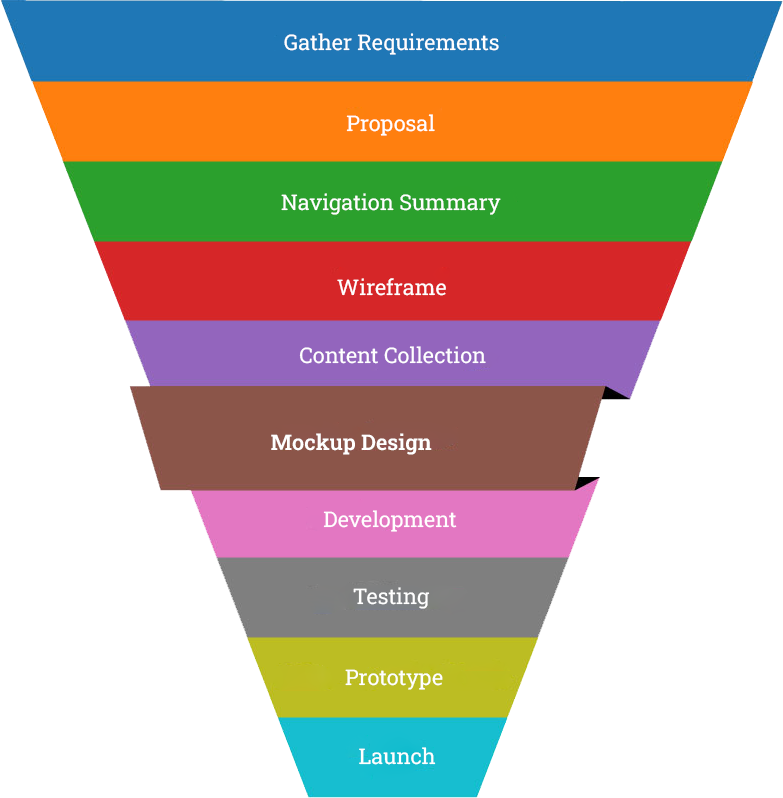
Mockup Design Questionnaire.
By this Mockup Design stage, you should have a deep understanding of the site’s layout and message. To guide the design process, create a concise, one-page questionnaire with key design-related questions, such as:
- What are your company colors?
- Can you describe 2-3 websites you admire and what style elements you like?
- Do you have any recent marketing materials we can reference?
Keep the questionnaire short and focused. Study the client’s feedback closely—this will be your roadmap to creating a design that resonates with them.
Mockup Concept
For most informational websites, you only need to design three main pages: the Home page, an Inner page (e.g., a main service offering), and a Contact page. It’s essential to incorporate the content you’ve already collected into the mockup to enhance the client’s connection with the design. Using placeholder text like “lorem ipsum” tends to result in less favorable reactions since it feels incomplete or impersonal.
Page Elements
The mockup stage is the best time to introduce page elements into the design, such as:
- Supporting graphics
- Call-to-action buttons
- PDF icons
- Thumbnail styles
These elements bring polish and professionalism to the design. However, it’s important to only place them in the content areas, not in the header or footer.
When sending mockups, don’t send 2-3 examples- only send one style. Think about it: When you have followed your web design process meticulously, by the time you get to the mockup, all inputs and considerations should flow into one design. Using multiple designs will only muck up the process and waste design hours.

Stick to One Set of Mockup Concepts
Resist the temptation to create multiple mockup concepts (e.g., two or three versions). By this point in the process, you should already have a solid understanding of the client’s preferences, so focus on delivering a single strong concept.
Creating multiple versions adds unnecessary complexity and doubles your workload. Clients will often mix and match elements from different designs, saying things like, “I like the color on this one but the layout on that one.” This leads to confusion and endless revisions, all without extra compensation.
Stick to your original concept and make revisions as needed until the client says, “This is exactly what I want.” Then, confirm the design approval with a polite email to create a digital record of the client’s acceptance.
Step 7: Development
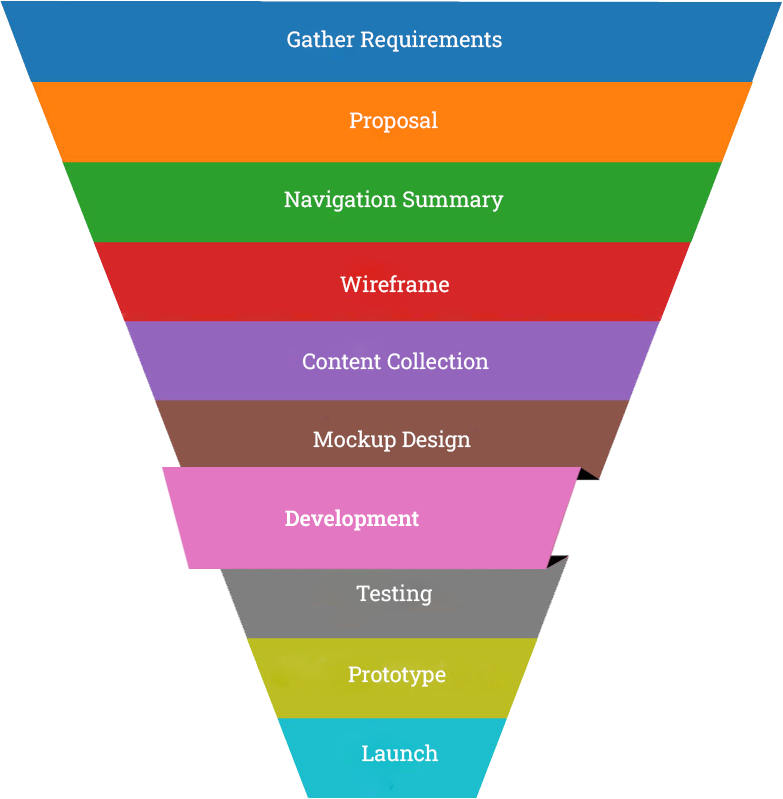 As we move into the development phase, this step, though seemingly challenging, can be one of the easiest in the web design process. At this stage, development is more of an assembly job, piecing together the wireframes, mockups, and content that have already been created. The project often begins to accelerate toward its ultimate goal—website launch. To speed up this process, you can assign multiple developers to work on different areas of the project simultaneously.
Avoid Providing In-Progress Links
A common mistake developers make is providing the client with a development link to view the site as it’s being built. Showing an unfinished website can send a negative psychological message to the client, who may not understand the work-in-progress nature of development. Instead, wait until the project is complete before giving them access. Good communication throughout the process will keep the client confident in your progress.
Testing the Website
Once the initial development is completed, it’s time to vigorously test the website. If possible, assign an independent tester who has not been involved in the project to look over the site. This independent perspective helps identify any errors or functionality issues that might be missed by those too familiar with the project.
If you have a small team or are working solo, try to approach the testing phase with a fresh mindset, actively looking for mistakes. The goal is to find and fix issues before the client sees the final product.
Our process is divided into two phases:
- Pre-Launch Testing
- Post-Launch Testing
Keeping this checklist simple and methodical helps ensure that nothing is missed.
Website Testing Checklist
Develop an in-house website testing checklist to ensure that every aspect of the site is thoroughly tested. At a minimum, your checklist should include a line item for each element that needs review. Developers should notate any issues they find and resolve during testing.
Development is considered the “fun phase” as your team now has all the documentation, content and client input to build the site. It can be done quickly- especially if multiple developers are simultaneously working on the project much like a construction team would on a house.

Stay Aligned with the Wireframes
During the development phase, it’s crucial that the project manager and development team work directly from the wireframes and initial project scope. No team member should stray from the plan or be distracted by new ideas.
Handling Scope Changes
If a client submits additional content or requests new features during development, don’t simply add them in. These changes were not accounted for in the wireframe and can drastically affect the project’s timeline and cost.
Instead, create a change order and send it to the client. It’s important to explain that scope changes, especially at this late stage, can have a significant impact on the project.
Scope Changes at Later Stages
The further along you are in the project, the more disruptive scope changes become. Think of it like constructing a building: if you’re in the final phases, adding windows and the roof, and the client suddenly requests a bathroom on the second floor, you’ll have to demolish part of the existing structure to accommodate plumbing, wiring, and fire systems. The same applies to web development—late-stage changes require more effort and can significantly impact timelines and costs.
Step 8: Testing
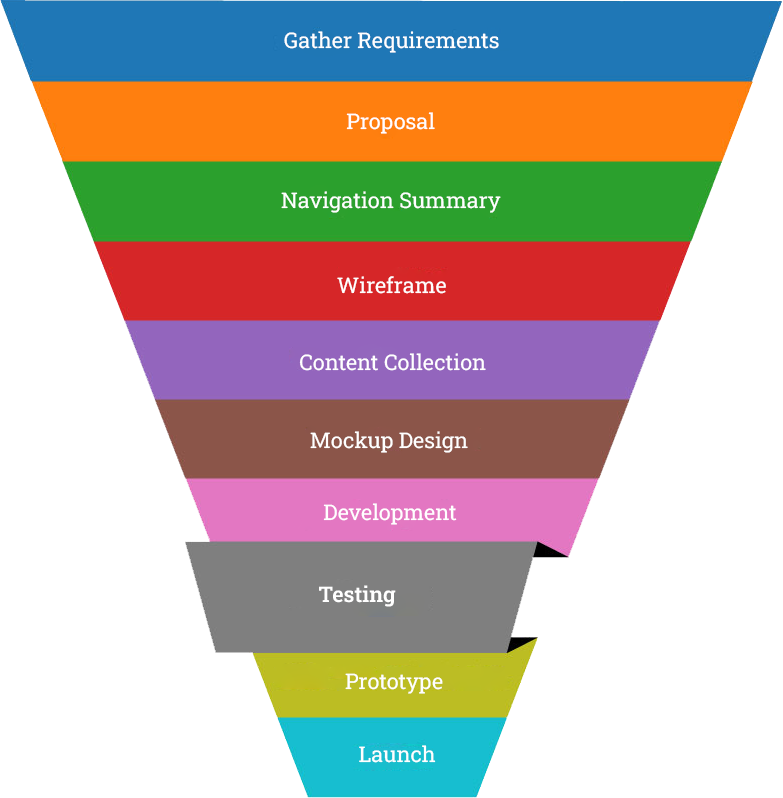
In an ideal scenario, especially if you have a larger team, it’s beneficial to have a dedicated tester to handle this step. It’s crucial that the person testing the website isn’t the same one who built it.
Why?
A fresh set of eyes can catch bugs and errors that the development team might overlook. This “frame of reference advantage” leads to more thorough testing. The tester should use a website testing checklist as a guide to ensure no issues are missed. After testing, the checklist is sent to the development team for corrections. It’s normal for large projects to go through several rounds of back-and-forth during this phase.
Think of testing as quality control (QC), much like in a manufacturing company. The goal is to ensure the website meets the highest standards before launch.
Testing for Smaller Teams
If you’re a smaller company without a dedicated testing team, you’ll need to do this task yourself. It’s important to mentally separate the testing phase from development to avoid overlooking mistakes. Approach testing with a clear mind and a methodical attitude, as this will help you spot errors more effectively.
When you begin testing the beta version of the website, think of it like a newly constructed house. Even though the structure is in place, there are still small things to clean up, like picking up nails and clearing debris. The same logic applies when testing a website—fine-tuning is required to ensure everything runs smoothly.
Testing tends to be one of the most overlooked steps to a new developer.
Why? They think it is a waste of time and money.
In reality, testing is one of the most important steps and can help elevate your career to the top! Testing, after all, is about quality control (QC).

Review Project Notes
The testing team (or person) should have access to the complete set of project notes before starting the testing phase. These documents provide essential background information about the project and help guide the tester in their work.
For instance, the project notes will tell the tester how many pages the website should have. If a page is missing, the tester will immediately know, rather than relying solely on the development link.
Basic Testing Workflow
To clarify the testing process, follow this order:
- Review the Project Notes thoroughly before starting.
- Test the website using the Website Testing Checklist.
This approach ensures you understand the full scope of the project and can perform a much more accurate and thorough test.
Step 9: Prototype
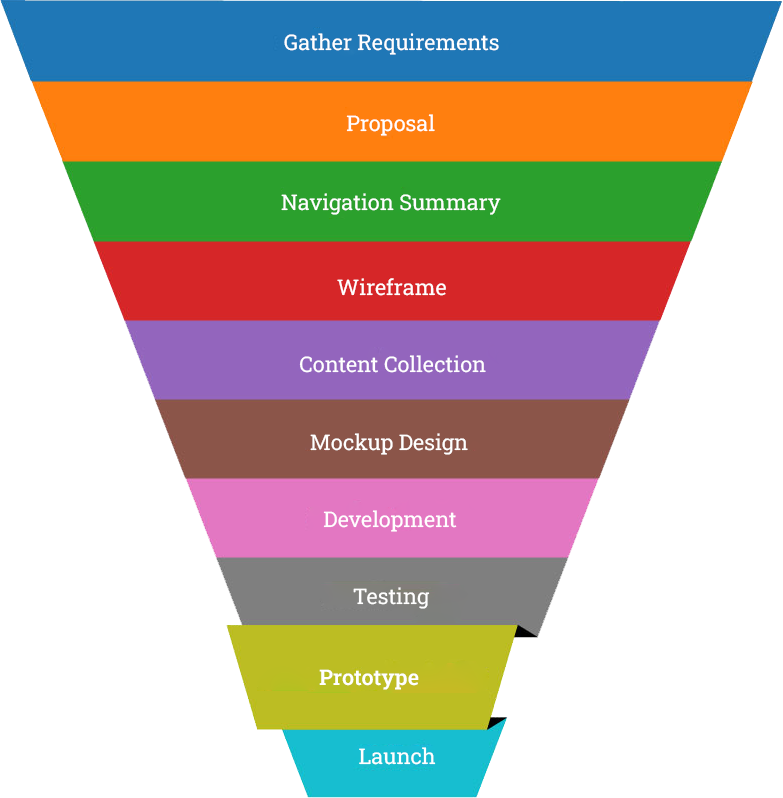
After completing the testing phase, the next step is to send the client a prototype link so they can start testing and reviewing the website from their perspective. This prototype should accurately represent the final product, giving the client the opportunity to thoroughly evaluate it.
In your email, it’s important to include a clear list of instructions for the client. This should cover items such as:
- Test for broken links
- Check if images are displaying properly
- Look for text or formatting errors
- Ensure all pages are working correctly
Important Tip
In a second paragraph of the email, be sure to include the following:
“During this time, the client will NOT be adding new pages, images, changing copy, modifying programming, etc. Any such requests will be considered new work and quoted as a separate project after the website goes live.”
It’s crucial to be clear about what is in scope and what is out of scope. Clients may often try to swap content, add pages, or change images during this phase. The best way to prevent this is by educating the client ahead of time on what is considered additional work and what is part of the current project.
Since most clients aren’t developers, don’t overwhelm them with technical-style website checklists for proofing. Use simple, non-technical language to guide them through the process.
The prototype is a rough draft (beta) version of the website. And it should be vigorously tested by the client. However, this is also NOT the time to be adding new pages, copy, etc… That is scope creep and requires a change order.

Email Forms on Development Servers
It’s important to inform your client that email forms won’t work while the website is on a development server. The contact form is tied to the live domain name, so the site needs to be live for email forms to function.
Tell the client this upfront to avoid any confusion or concerns. Otherwise, they might think there’s a problem with the project, which could lead to bigger issues down the line.
Step 10: Launch
Once the customer has approved the prototype, you’re ready to begin the launch sequence (also known as “go live”). This step is highly technical, so follow these essential tasks:
- Migrate website files from the development server to the live server.
- Install the SSL certificate to ensure secure connections.
- Integrate the customer’s email ID into the contact form(s).
- Set up Thank You page redirection after form submissions.
- Upload the robots.txt and sitemap.xml files for search engine indexing.
- Recheck the Prototype to ensure everything functions as expected.
Special Domain Name & Hosting Note
These steps assume the client has an existing website, and this is a redesign project. If the client is launching a new website for the first time, domain name and hosting details should have already been handled in the Development step.
90-Day Warranty
Provide the client with a 90-day warranty after the site goes live. This warranty protects both you and the client by setting clear terms. Make sure to review it with the client so they understand that you are not responsible for long-term maintenance or support beyond the warranty period.
Maintenance Agreement
A maintenance agreement is crucial for defining how future updates and support will be handled. Many clients assume that developers are responsible for unlimited updates after the site is built, which can lead to unrealistic expectations. A maintenance agreement outlines your services and ensures both parties have clear expectations moving forward.
Have the customer vigorously test their website for any bugs or errors. Once this is completed, have them reply with an “I accept this project as completed” type email. This confirmation helps to officially end the project!

Avoid Unlimited Updates Packages
Be wary of offering an “unlimited updates for $X/month” plan. While the steady income might seem appealing initially, over time, client requests may increase, leading to work that far exceeds the value of the agreement.
Here’s how it can play out: In the beginning, the client may not ask for much since the site is new. But as time goes on, they’ll request more updates and changes, quickly surpassing the profitability of your monthly plan. If this happens across multiple accounts, your business could suffer financially.
Instead, structure your agreement around hourly billing, such as “billing in increments of 0.5 hours at $X per hour.” This covers:
- Email support
- Content changes
- Plugin updates
- SSL integration (client purchases, you install)
- Research (use caution with this)
Handling Work Requests
When a client requests work, provide a quote that outlines the task, timeline, and fee. Also, note any potential dependencies or contingencies. This helps set clear expectations and protects you from unexpected costs.
Building Long-Term Relationships
Over time, clients will appreciate not being tied to a fixed monthly fee for unlimited work. A clear, professional approach will lead to stronger client relationships and often results in referral business, which helps grow your company.
Conclusion
In conclusion, following a structured web design process ensures a smooth transition from concept to launch while keeping clients engaged and expectations clear. By adhering to each step—gathering requirements, creating wireframes, developing, testing, and final launch—you streamline workflow and minimize errors. Effective communication, scope management, and clear post-launch agreements protect your time and profitability, leading to stronger client relationships and long-term success.


